- Published on
Hack this Page
- Authors

- Name
- Jason Deramo
► Creating a blog with Tailwind CSS and deploying it on Vercel is a fantastic way to share your ideas and polish your coding skills. Using modern AI tools like ChatGPT, you can quickly set up a stylish, performant blog. Let’s walk through the process.
Step 1: Choose a Tailwind CSS Blog Template
The easiest way to start is with a prebuilt template. Vercel offers a wide range to choose from, including the popular Tailwind CSS Starter Blog that’s perfect for quick setup.
Steps:
- Visit the Vercel template page.
- Click Deploy to fork the template into your Vercel account.
- Log in to Vercel if you’re not already signed in.
- Give your project a name and click Deploy.
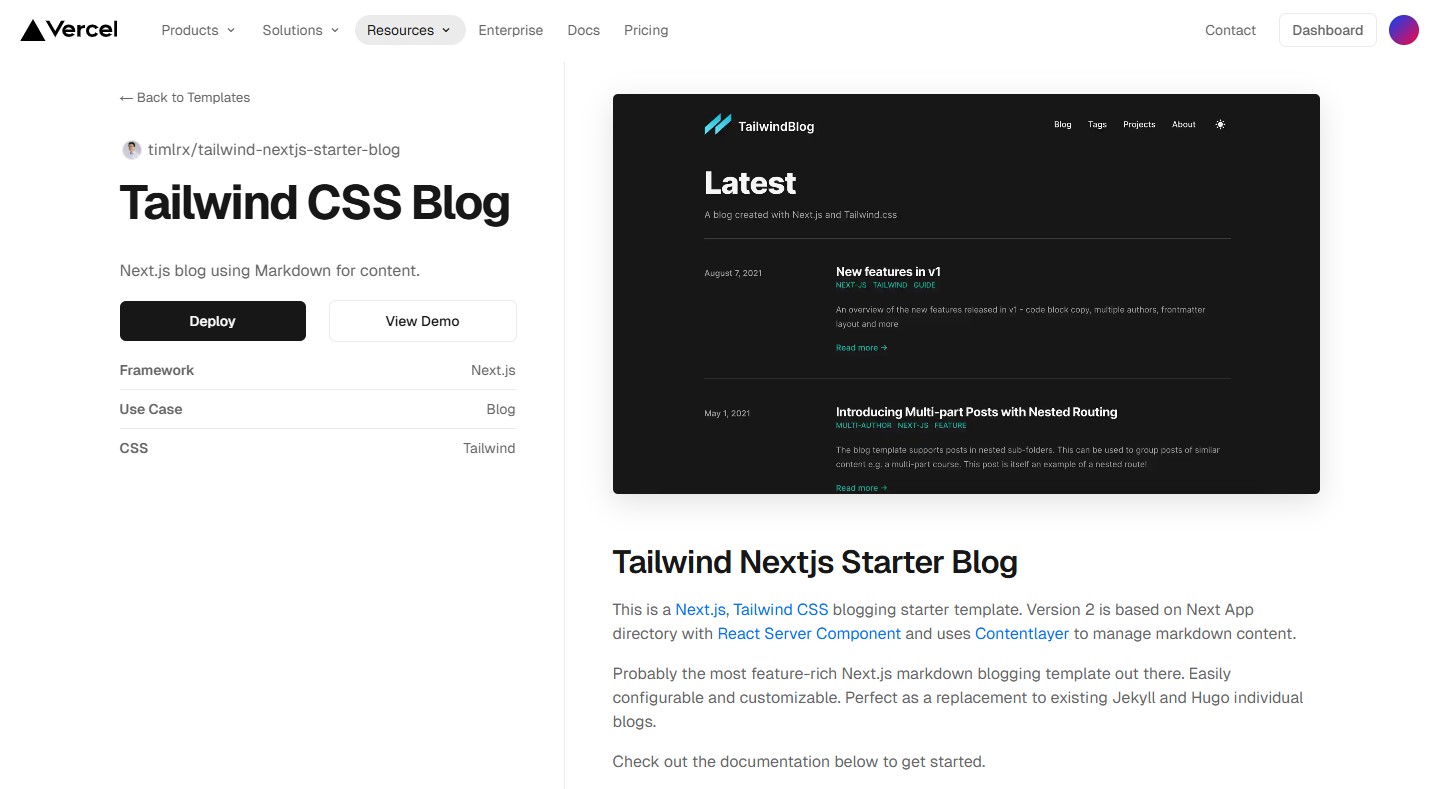
Vercel Deployment Interface
📌 Estimated Time: 30 minutes (including account setup).
Learn More:
Step 2: Set Up the Repository on GitHub
After deploying the template, connect it to a GitHub repository for version control.
Steps:
- Go to your project on Vercel.
- Click on Settings and select Git Integration.
- Connect your GitHub account and create a new repository.
- Push the template code to the GitHub repository.
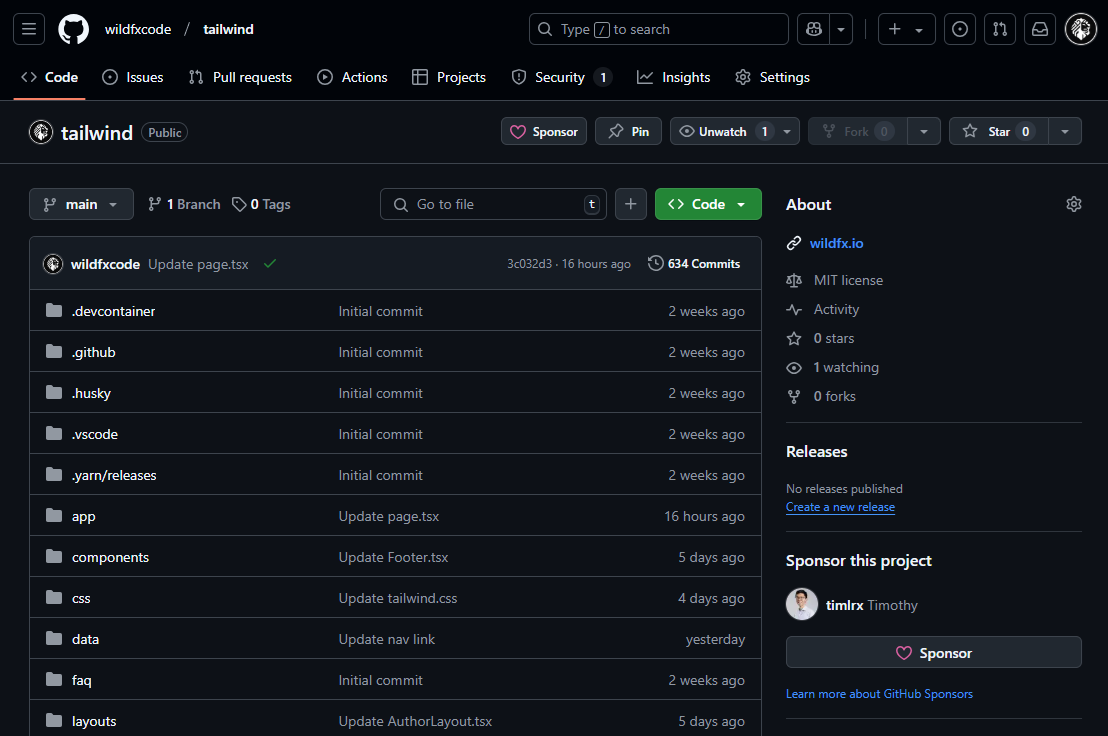
GitHub Integration in Vercel
📌 Estimated Time: 5 minutes (assuming GitHub account is ready).
Learn More:
Step 3: Customize Your Blog
Once your project is deployed, you can clone the GitHub repository locally to customize it.
Local Development Server Running
🎥 Video Recommendation:
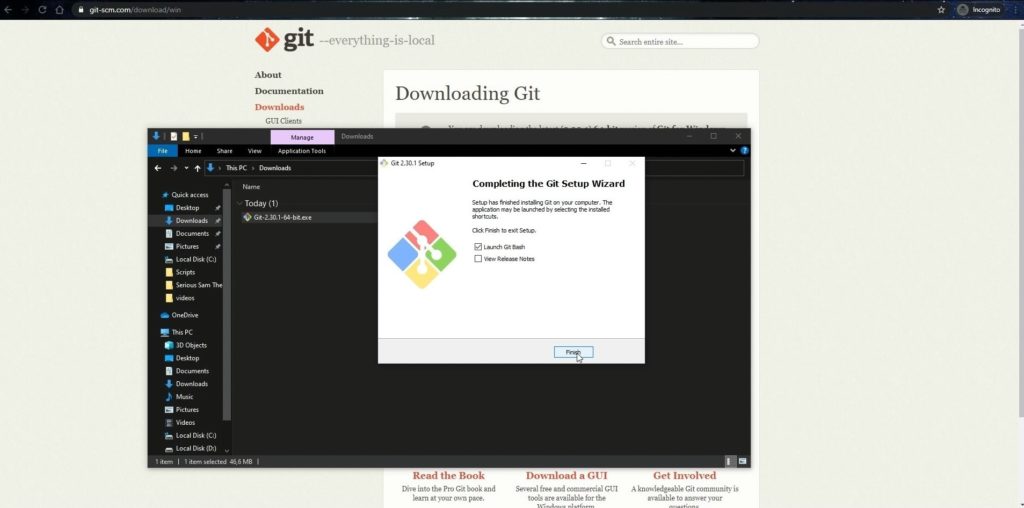
The Net Ninja - Git & GitHub for Beginners
Comment:
This video provides a clear walkthrough on installing and setting up GitHub Desktop, Git, and Visual Studio Code for seamless terminal updates. You'll learn how to:
- Install and configure Git for version control.
- Use GitHub Desktop to manage repositories with an intuitive GUI.
- Set up Visual Studio Code as your preferred editor and terminal for coding and Git commands.
Steps:
- Clone the repository.
git clone https://github.com/your-username/your-repo-name.git - Install dependencies.
npm install - Run the development server.
npm run dev - Access your blog locally at
http://localhost:3000.
Now, edit files like config.js to update site metadata and customize components in the pages and components directories.
📌 Estimated Time: 2–4 hours (depending on the level of customization).
Learn More:
Step 4: Deploy Updates to Vercel
With every push to the main branch of your GitHub repository, Vercel automatically deploys your changes.
Steps:
- Commit and push your changes.
git add . git commit -m "Customize blog" git push origin main - Vercel will trigger a new deployment, and you can view the updated blog at your live URL.

Vercel Dashboard Showing Deployment
📌 Estimated Time: 30 minutes to 1 hour (may vary based on errors or debugging). Use ChatGPT to troubleshoot issues effectively.
Learn More:
Helpful Resources
Here are additional resources to enhance your learning:
Note: Be prepared to troubleshoot and refine a lot if this is your first time working with Tailwind CSS or Vercel. Practice makes perfect! Good luck building your blog.